
This is a sponsored post by Lowe’s. All opinions are 100% my own.
You guys got a glimpse of the board and batten in yesterday’s mantel post, but today, I’m excited to share more about it and how we did it! Y’all know I love all the texture on walls, but board and batten might just be my favorite. It’s shown up in every house we’ve done because it’s such an easy way to add a lot of character in a space.
Basically, board and batten is adding some trim pieces over Sheetrock and then painting it all the same color, so you instantly have the feel of custom molding. For this project, we used finger-jointed pine boards like these from Lowe’s lumber department. They come in a lot of different widths and we bought our different size boards in our local store.
Here’s how we did it!
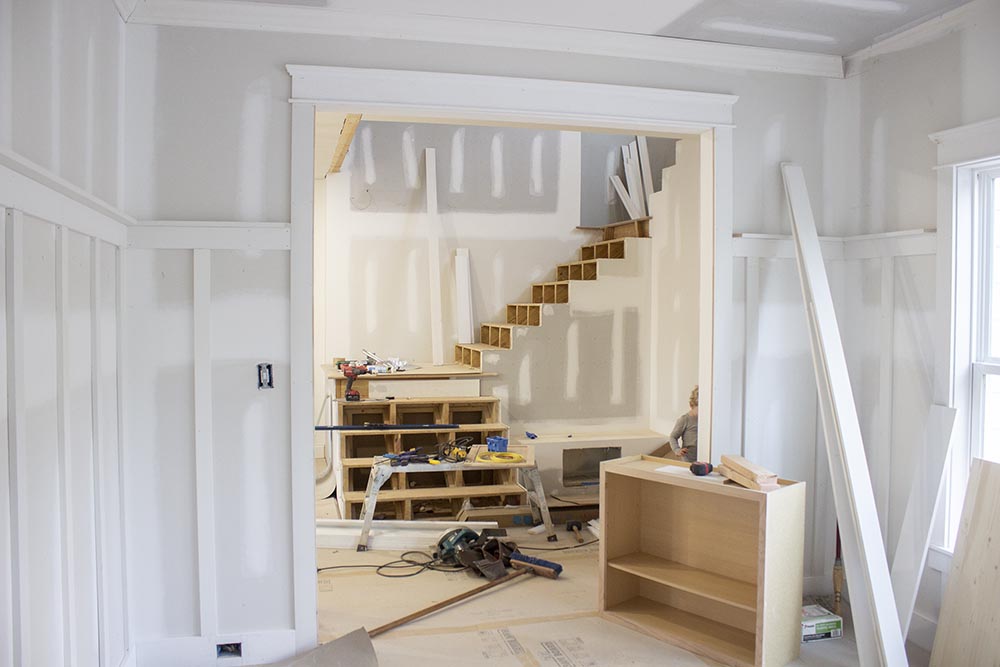
Step 1: Install the top and bottom boards around the room.
We started by installing a 1 x 6″ board along the base of the space. Then, we installed the top 1 x 4″ board.
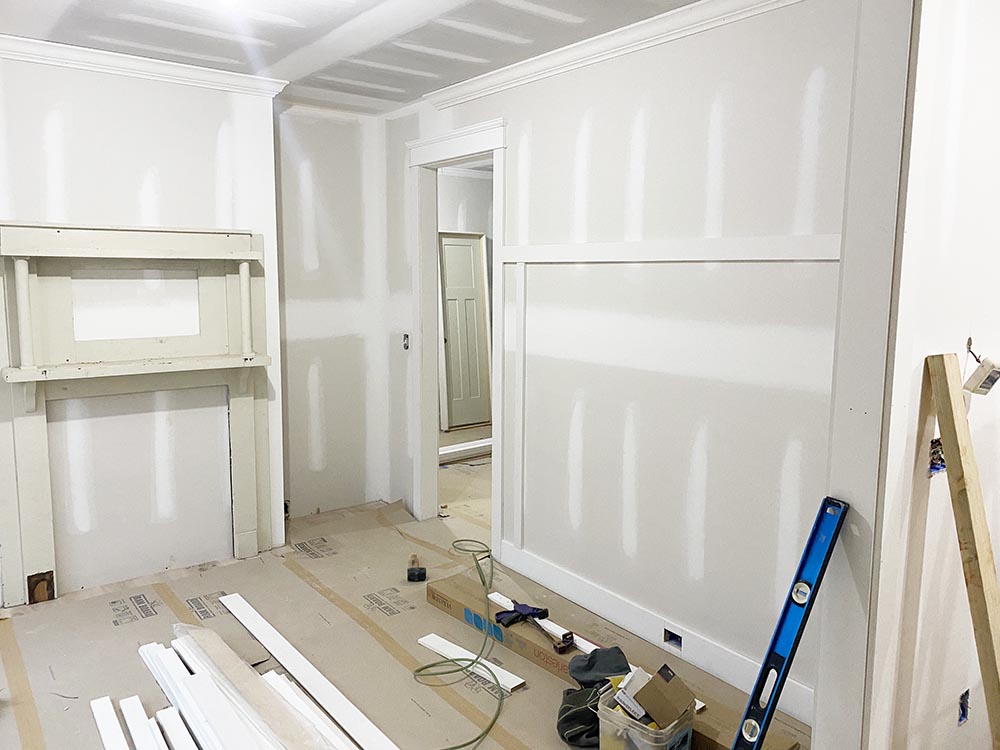
You can install the top board at whatever height you want. We’ve done full wall board and batten before where it ran floor to ceiling. That’s what we’re doing in our master bedroom for this house, in case you missed it.
For this space, I knew I wanted wallpaper above and I wanted the board and batten to cover about 3/4 of the wall. In this house with the 9′ ceilings, that was 6′. When we first did it, it felt really tall because it was over my head! But after studying it, it was the exact proportion in the space I was looking for. Any lower felt like half of the wall, which visually isn’t what I wanted.
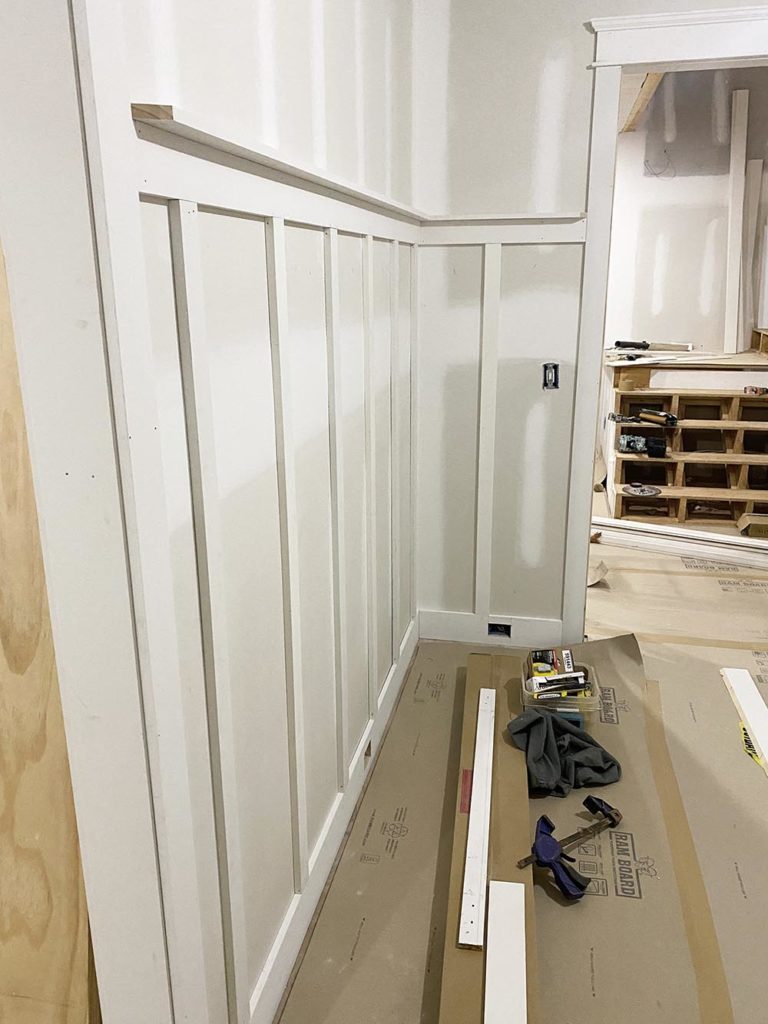
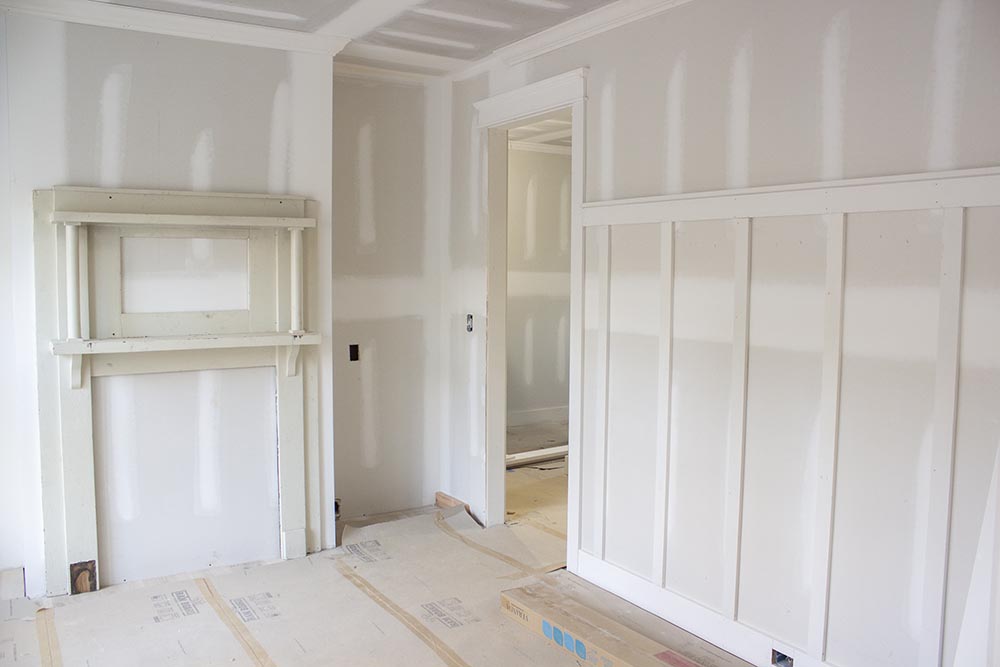
Step 2: Install the vertical planks
We used 1 x 3″ boards for the vertical planks. We cut them all to the 6′ height. To make installation a breeze and not have to measure with each board, we cut a spacer board so that after each vertical board was nailed, we put the spacer board up against it and knew where to nail the next one. You wouldn’t believe how fast this can move using a spacer!
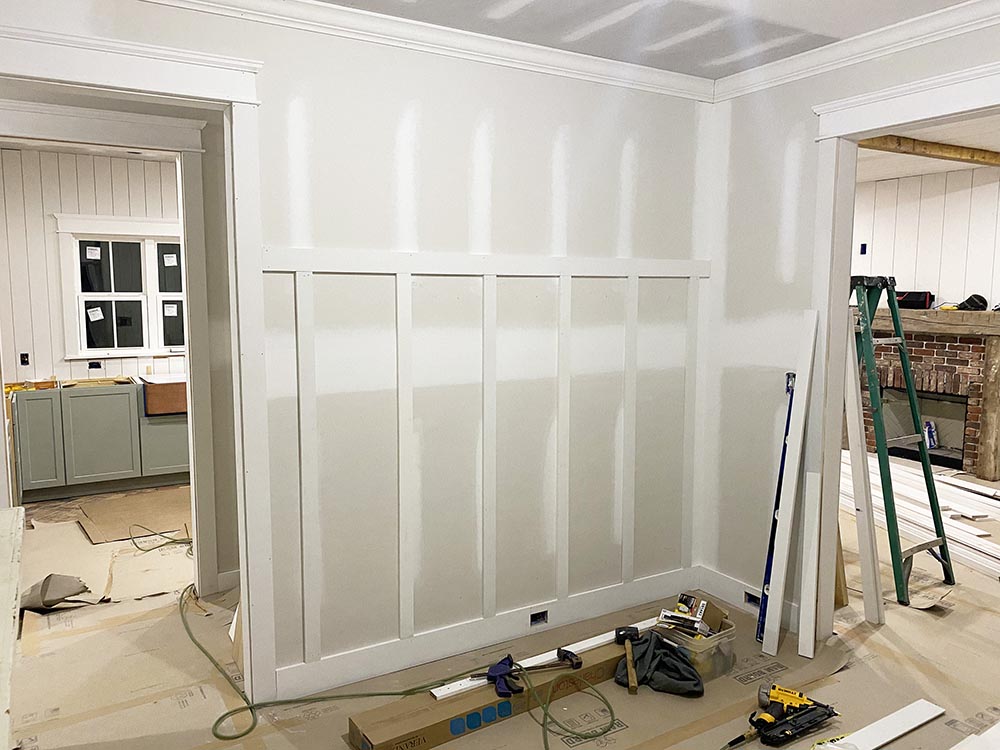
You can use whatever distance you like between boards. You can get a really different look by going super wide or more narrow like we did here. We chose our spacing based off of stud placement.
You can install these boards two ways.
1.) Finish Nailer – We used a finish nailer because it’s a much quicker process and they’re more secure. The downside of using a finish nailer is that you have to nail them into studs. If you know where your studs are, that’s no big deal. Our stud lines were still visible in here because the Sheetrock installer screwed the Sheetrock into studs and then patched them. So those vertical lines you can see in the Sheetrock mud are covering the screws, a.k.a. our studs are right behind that. Our studs are 14″ apart so we made that our spacing and screwed right on top of the vertical Sheetrock lines. With a finish nailer, you also have to patch the nail holes prior to painting.
2.) Glue, ex. Liquid Nails – You can also glue the vertical boards on with a heavy-duty glue product like Liquid Nails. While you don’t have to worry about stud placement for this option, this can be really difficult to install and get the boards flush and placed correctly. It’s a much slower process and it isn’t as secure in the long run. BUT, it can be a good option depending on your situation.
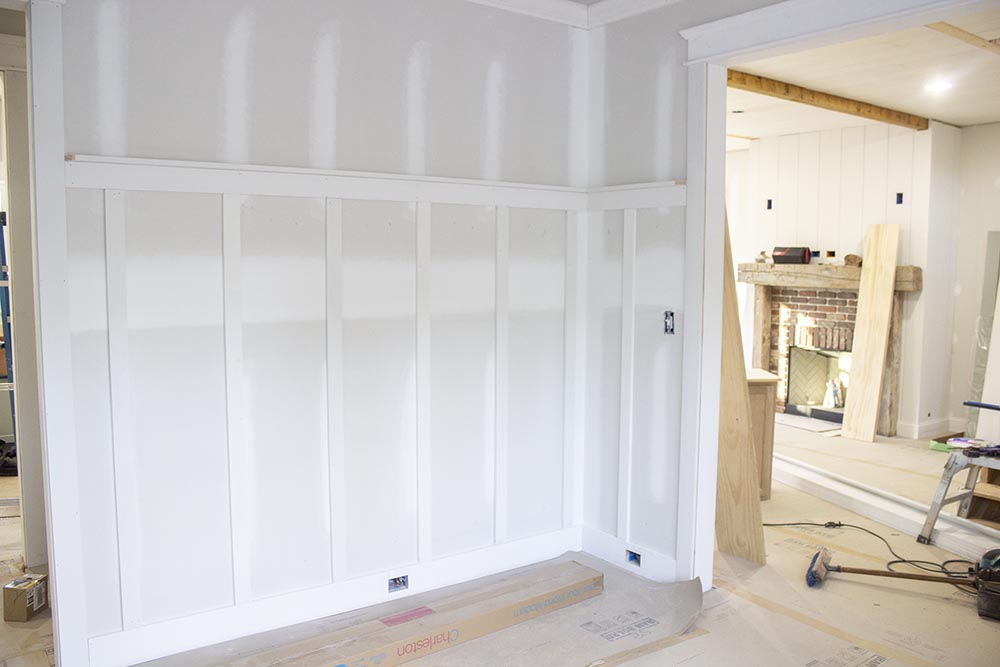
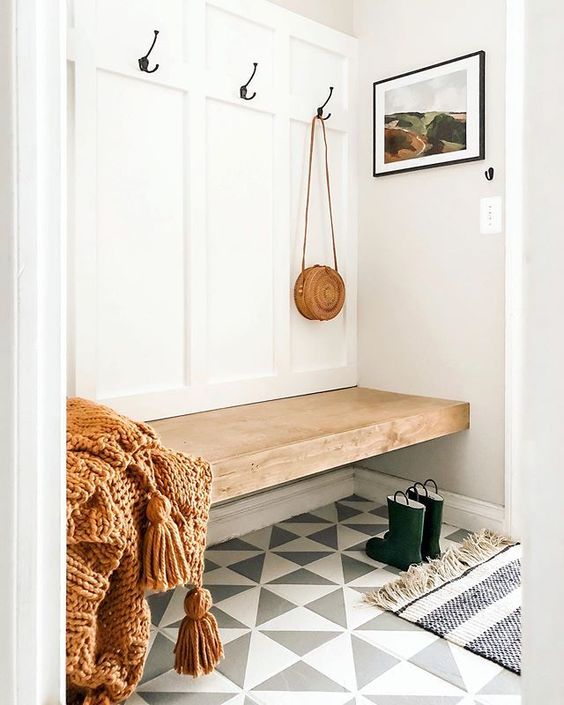
Step 3: Install a Top Shelf Board – I love the look of bead board or board and batten that has a top “shelf” board. I love the functionality of it that even if it’s narrow, you can rest art or a small candlestick or vase on it. And to me, it just feels more finished.
This is the look I was going for with that:
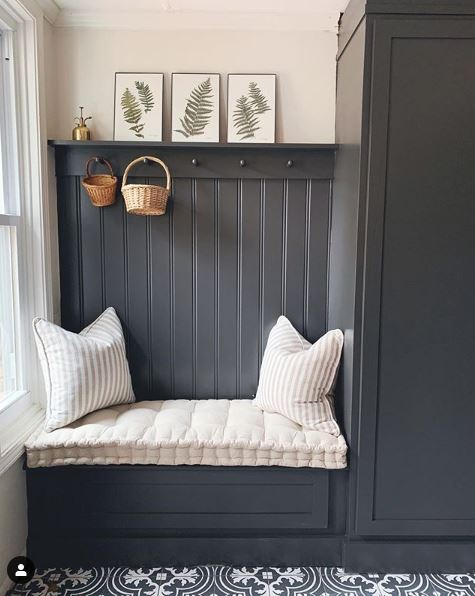
I would love for our shelf to be as deep as possible! But with the walk ways and built-ins in the room, we needed to keep it fairly narrow. We tried different depths and ended up at 2.5″ with the other elements in the room. It’ll still be enough ledge to use a bit, but it has the finished feel I was looking for.
I cannot wait to see all of this painted! All of the board and batten and trim in the room will be that lovely Agreeable Gray and the floral wallpaper will wrap around the room from the shelf to the crown moulding.
In tomorrow’s post, I’ll show you how we installed the built-in cabinets I’ve been dying for! And in that post, I’ll also show you how we made them and the mantel look built-in by extending the top boards of the board and batten treatment around the room.

OOOOh! I love this! Definitely want to incorporate some board and batten into our house as well. The view from the dining room where you can see the kitchen and the living room is so lovely! Very warm and cozy.