
One way that we saved money on this bathroom was by building our own farmhouse table vanities. If you missed the post about why we chose this style and some in-progress bath shots, you can check that out here. Getting these vanities finished and installed is making this bath finally come together!
I’m excited to share a little insight into how we made them. These were really easy and look way more high-end and more difficult than they actually were. The key was starting with these pre-made farmhouse table legs.
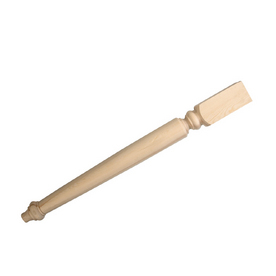
We needed eight legs for the double vanities and they cost $24.98 each. They’re an investment at $200 total, but they really make the difference and the rest of the materials were much more reasonable.
Here’s how we built the rest of the frame. You’ll see it flipped over in these photos because it’s much easier to see how it’s built. And it’s much easier to put together that way!
We wanted to go with a standard vanity depth of 20″, so all of our measurements below were working back from that.
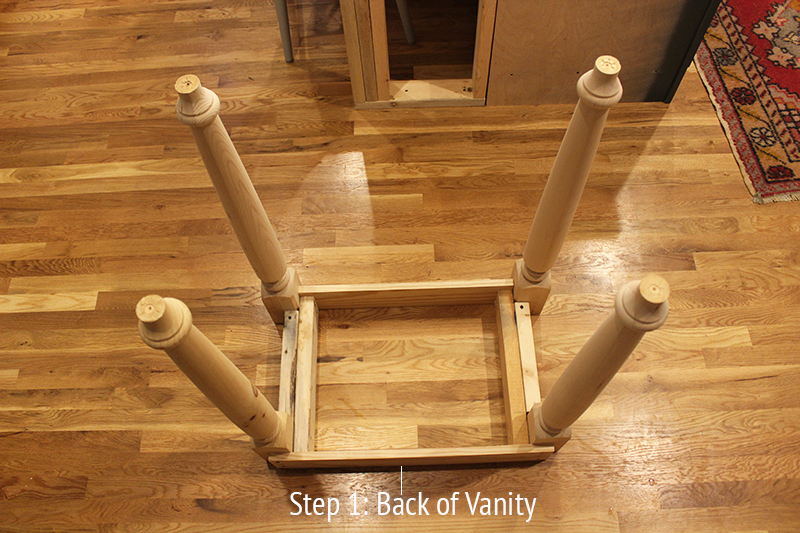
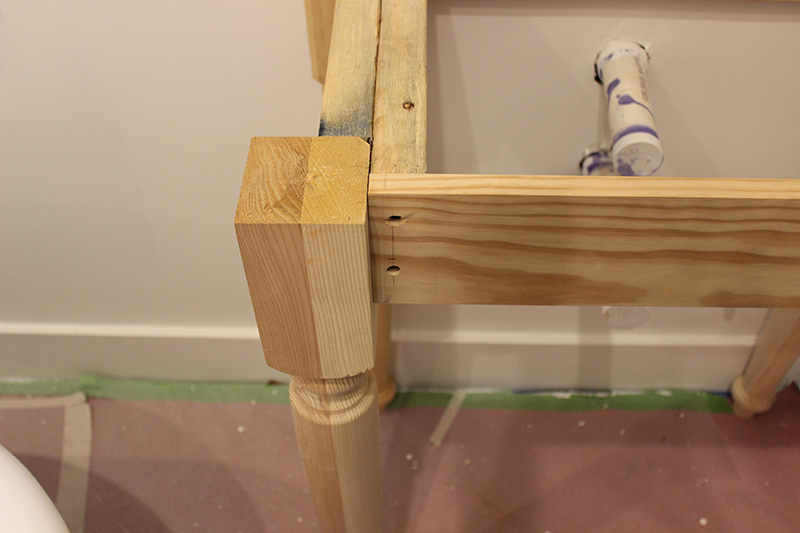
STEP 1: Connect back two legs with a 1×4″ that runs behind the legs, so that the legs stick out from the wall slightly and don’t hit the baseboard below. This gives you a surface to screw into the wall and make the vanities secure.
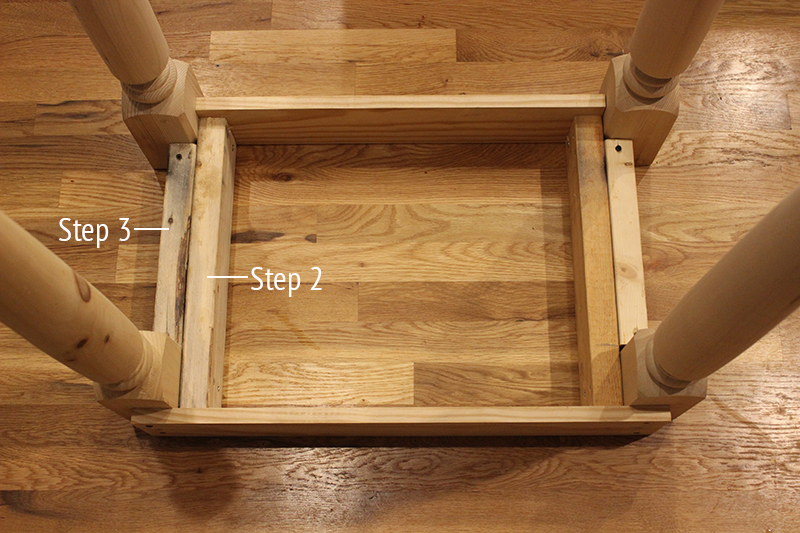
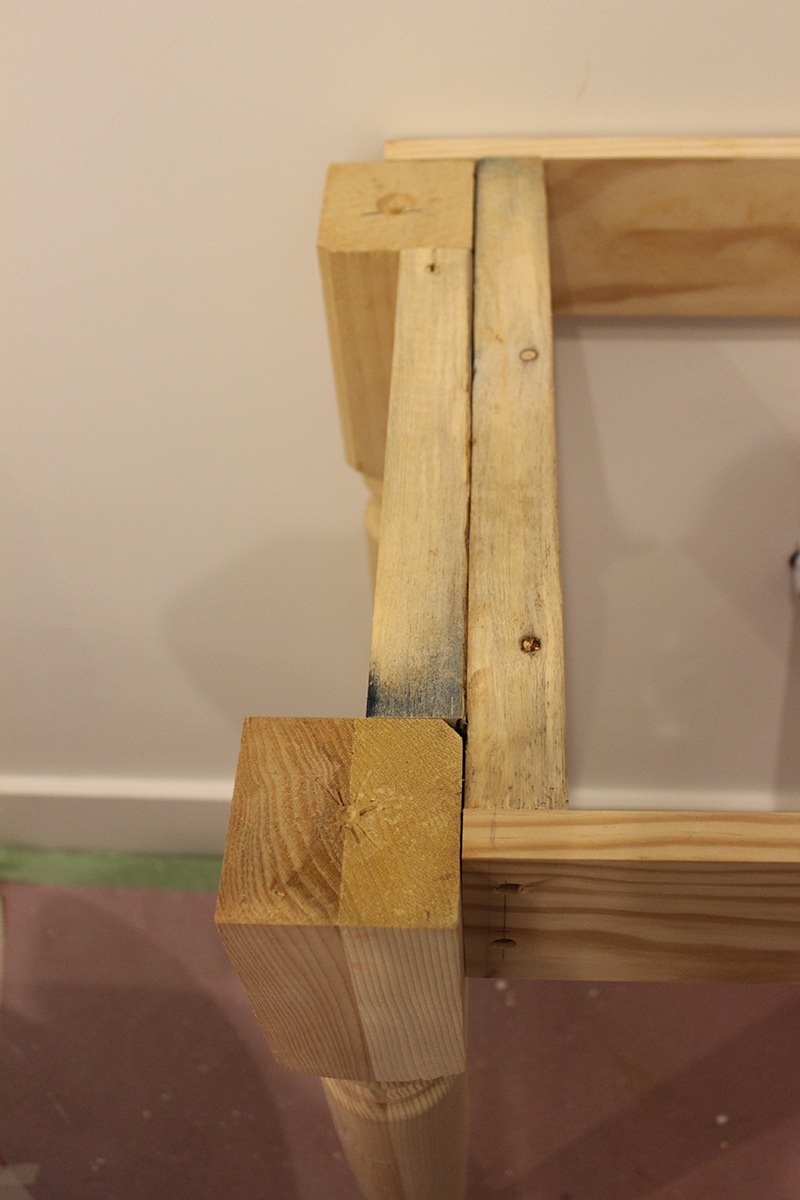
STEP 2: Run two 2×4″s perpendicular to the back board. These should be 16″ long. Screw them into each table leg on the inside.
STEP 3: To make the legs inset, we used another 2×4″ that runs in between each leg on the sides. These should be 11″ long and should be placed right up against the 2×4″ from Step 2. Screw these at an angle into the legs and from the outside into the other 2×4″. You will be covering the outside, so don’t worry about the screw holes.
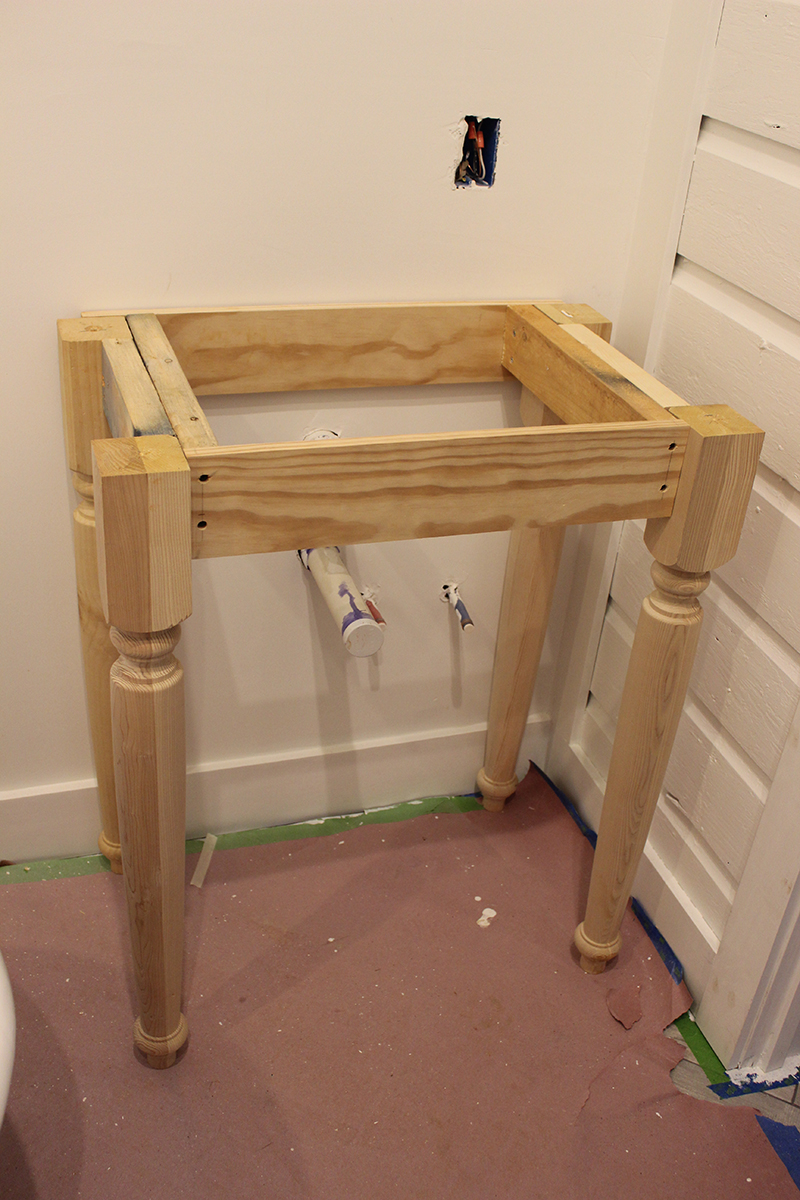
Here is a top-view of this 2×4″ box that connects the four legs.
STEP 4: We ripped a premium, stain-grade pine board down to a 1×5″ to create the outside panel on the front and sides. You can see this front panel in this picture above. This same panel went down both sides to cover the 2×4″s. If you follow the dimensions of the 2×4″s above, these panels should be inset 1″ from the legs all the way around.
STEP 5: We used another premium, stain-grade pine board for the top. First, we cut it to size. We went with the standard 20″ depth and for us, we did 30″ wide. Based off of the measurements we followed above, it had a 1.5″ lip from the legs below.

STEP 6: We cut the hole for the sink by first flipping the sink upside down, centering it on the top and tracing around the outside of it. Then, cut the hole one inch inside that traced line, so that a lip is left for the sink edge to rest on. It doesn’t have to be a perfect opening because it will be covered. You just want a solid lip all the way around where the sink will overlap the top.
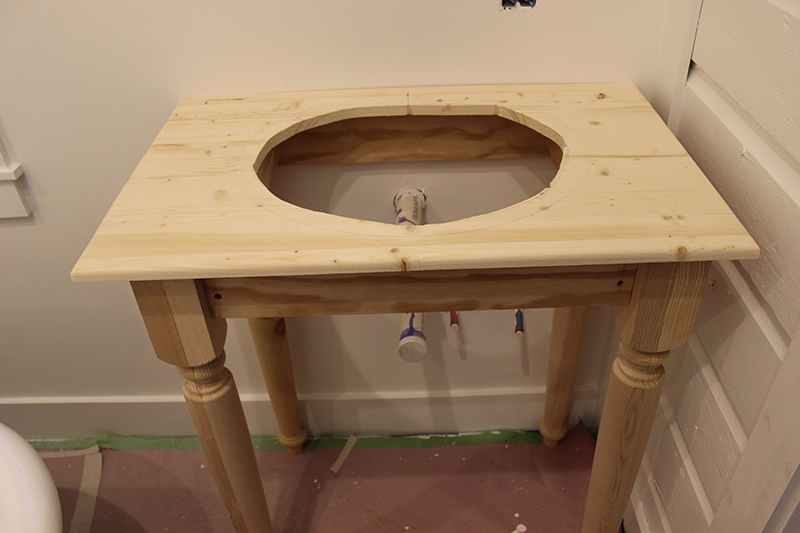
STEP 7: We used a router to put a curved bevel around the edge of the top. It gives it a much more finished look that just a straight edge.
STEP 8: After the base is assembled and the top is finished, stain and poly both pieces. It’s much easier than waiting until after you attach the top. We really wanted a dark stain with no red in it to pop against the gray and white floors.

We looked at a lot of options, but finally settled on Minwax English Chestnut.

We did two coats of stain, sanding in between. Then it was time to poly. We wanted a hard, glossy finish, so we went with Minwax Fast Drying Poly in a Clear Gloss finish.
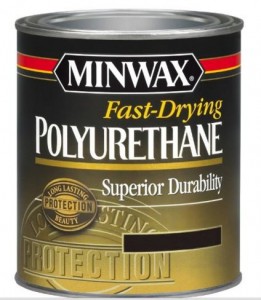
We did two coats of poly on the base and three on the top. We wanted to do everything we could to protect that top from water.
STEP 9: We attached the top to the base first using Liquid Nails around the edge. We secured it by using a finish nailer to nail under the edge of where the sink edge will go. We did this on all four sides.
STEP 10: Attach the sink using Liquid Nails.
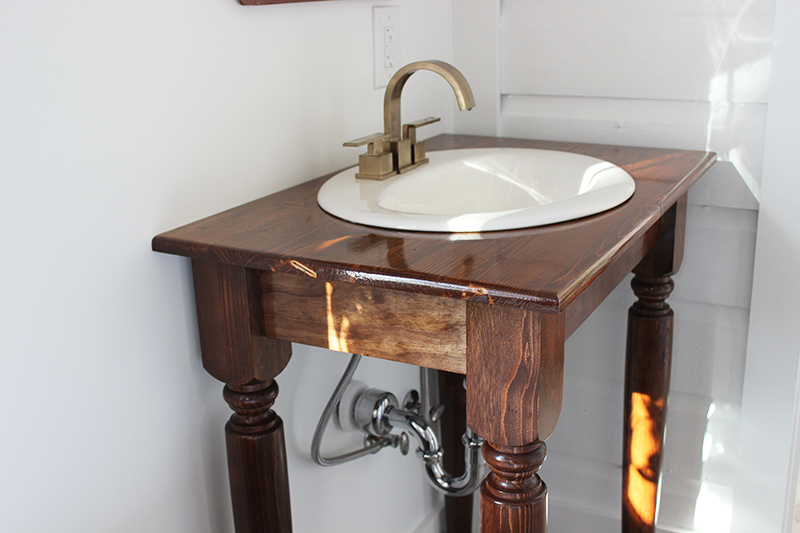
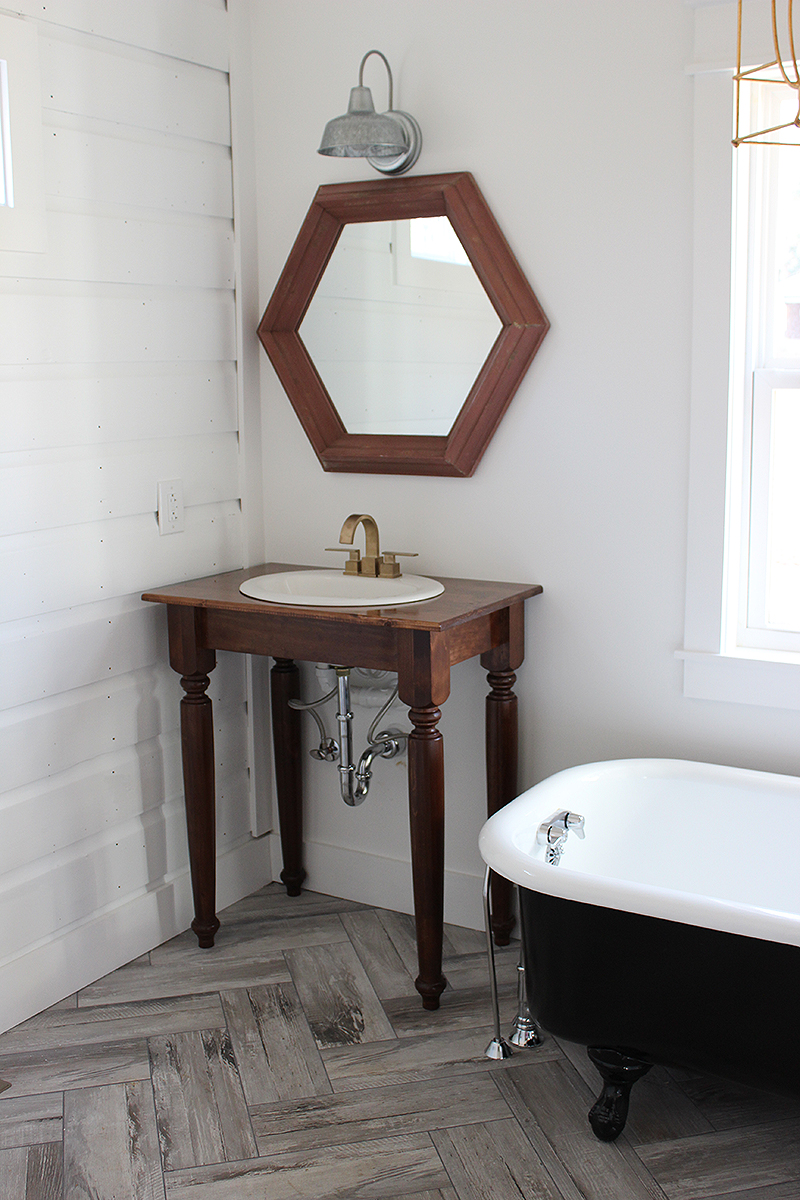
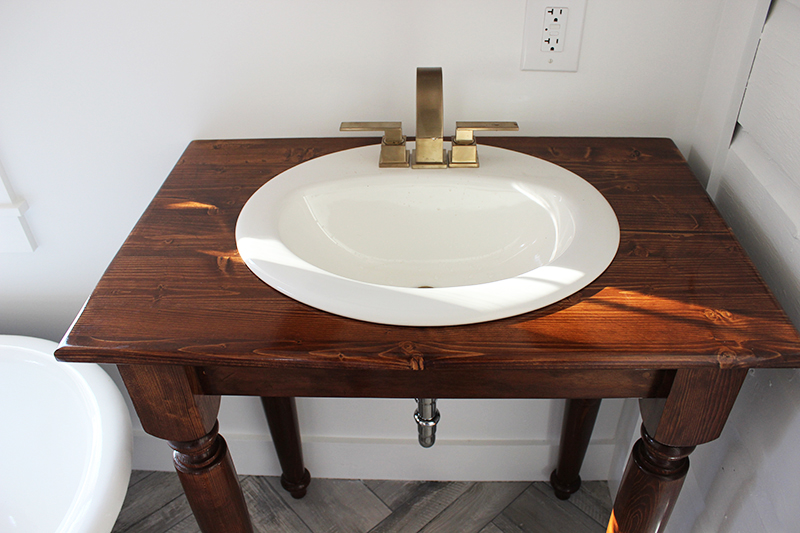
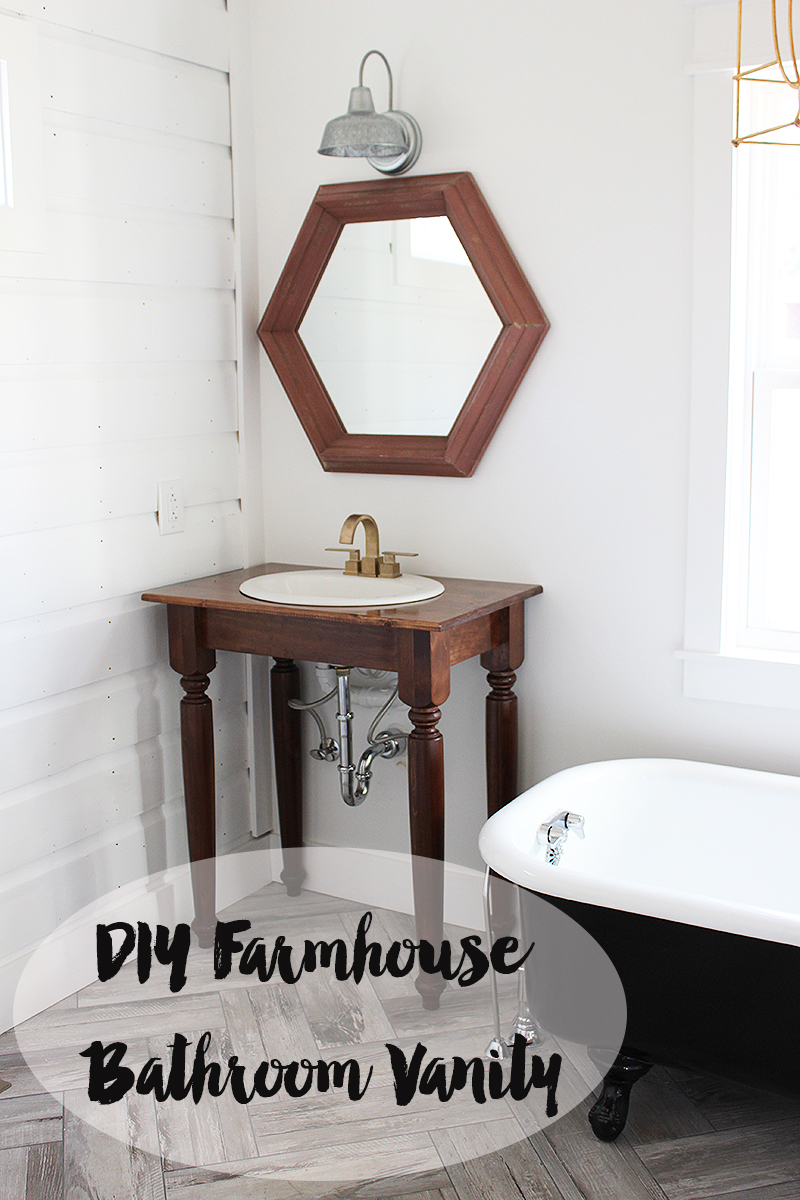
I absolutely love how they turned out and I love that my husband made them. Any room he makes something for just immediately has a little more meaning. And I love the mix of the modern lines of the faucet and the rustic farmhouse vanity.

Our total cost for the vanities were $275 for both. Here’s the cost breakdown:
Table Legs: $200
Other wood needed: $60
Stain and Poly: $15
I posted about the sink and faucet choices here, but here’s a link directly to the products:

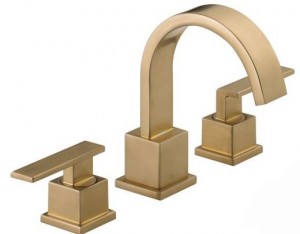
Delta Vero Faucets in Champagne Bronze
And last of all for today, here’s a shot of the whole main wall of the bathroom where you can see both vanities.
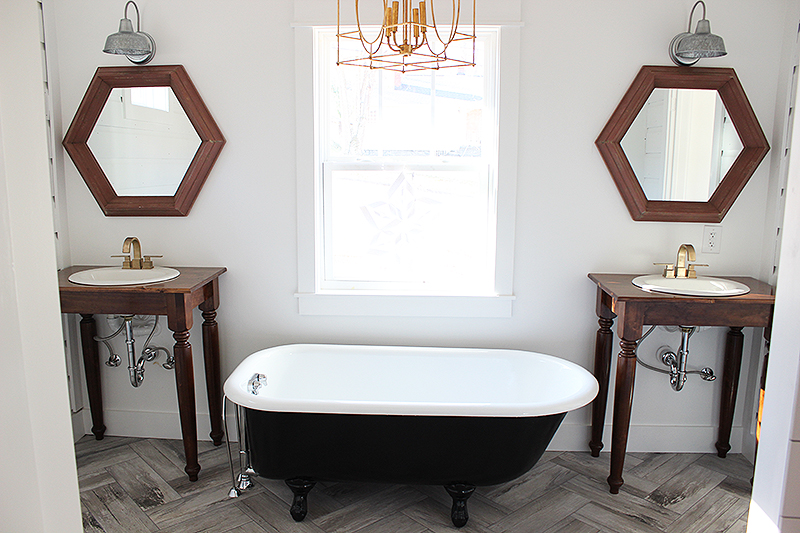
And there are some MAJOR sneak peeks for you of things I haven’t talked about yet! The mirrors and vanity lights aren’t staying those colors. This is just how they came and I’m still deciding what I’m going to paint them. We hung them to make sure the size and scale were what I’d pictured. I’ll be talking about them tomorrow and sharing some color ideas and options. And that tiny little peek of the over-bath light is a tease I know. I’m in LOVE with this light and will share it later this week too!
So much is happening in here and I cannot wait to use this bath and soak in that tub! Thanks for following this reno of our master bath, friends!

Those vanities are just stunning. Love the contrast of the dark wood against the white walls and gray floors. Can’t wait to see what colors you go with for the light fixtures and mirrors! It’s all coming together so beautifully, Lindsay!
Love those! They turned out so great 🙂 Can’t wait to see what you decide to paint the mirrors and lights!
Thanks Amy Lynn!!! I’m so excited to finally be able to use this bathroom 🙂
Stunning! I’m always a bit wary of taking on any large DIY projects but this one is so tempting! And I definitely have bathrooms in need of a refresh…
Arielle, this one was seriously much easier than I expected, especially considering how well it turned out. You should go for it!
The vanities turned out so well!! My boyfriend is super handy and loves making things as well, but we struggle since we don’t have all the necessary tools for everything. Right now he is making a big TV stand for our basement though 🙂
amandakatherine.com
Question: where do you put all your bathroom ‘stuff?’ You know – razors, shaving cream, towels, soap, toothbrushes, band-aids, hair dryer, etc..? Are you guys going to use towel bars or rings by the sinks? I do applaud you for scaling back and showing real life renovations. A lot of us average readers cannot afford to go BIG and must use our imagination tied to a tight budget! Thanks.
Great question, Becky! That was definitely a huge consideration when we were planning these! We have a spot in here to do a huge cabinet (right behind my vanity thankfully) that’ll be about 8′ tall and 2′ wide. We’re going to fill it with shelves and will have a ton of storage! That’s the only reason we were able to go with vanities like this. I wanted this look so badly, but we made sure we had storage elsewhere before we went with this. I broke down that whole thought process here if you want to see more details 🙂
http://thewhitebuffalostylingco.com/vanities-for-the-master-bath/
Did you have any trouble with the stain blotching since the wood is pine?
No we didn’t! It worked really well 🙂